For years, package management with Swift was accomplished with (often clumsy) CocoaPods or Carthage tooling. With Xcode 11, the Swift Package Manager is available to the general public… but what is it, and how do you use it?
The Swift.org website describes the Swift Package Manager (SPM) succinctly: “A tool for managing the distribution of Swift code.” But we could already do that, so why is SPM better? And should you replace your CocoaPods, Carthage, or GitHub workarounds to implement it?
Let’s take a walk through the Swift Package Manager.
What’s a Package?
GitHub repos, pods on CocoaPods… those are both packages! Any bundle of code housed in a repository is a package. It could be an executable API, standard library, or any other snippet you’ll need across your codebase (or multiple codebases).
Via GitHub (and Medium), Apple describes SPM as “a tool for managing distribution of source code, aimed at making it easy to share your code and reuse others’ code.” It’s really that simple. This is one of those (rare?) times engineers weren’t too clever about a naming scheme.
How Do I Create a Package?
You can go one of two ways: local, or public.
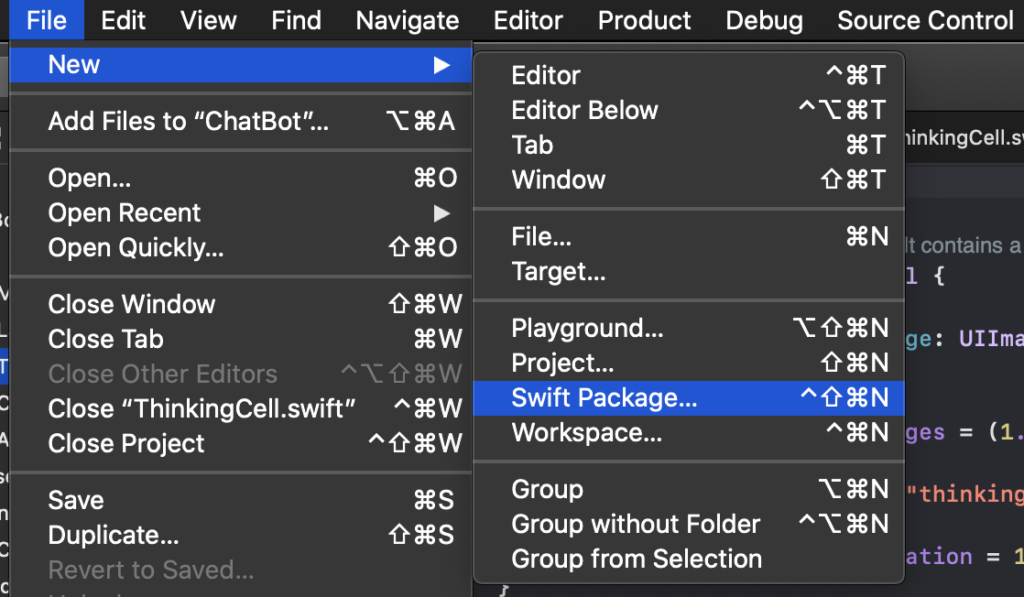
A local Swift package is essentially code you want to use globally, but not publish on GitHub. If you’ve got code housed in a .Swift file within a project, make sure that file is highlighted, then go to File > New > Swift Package.
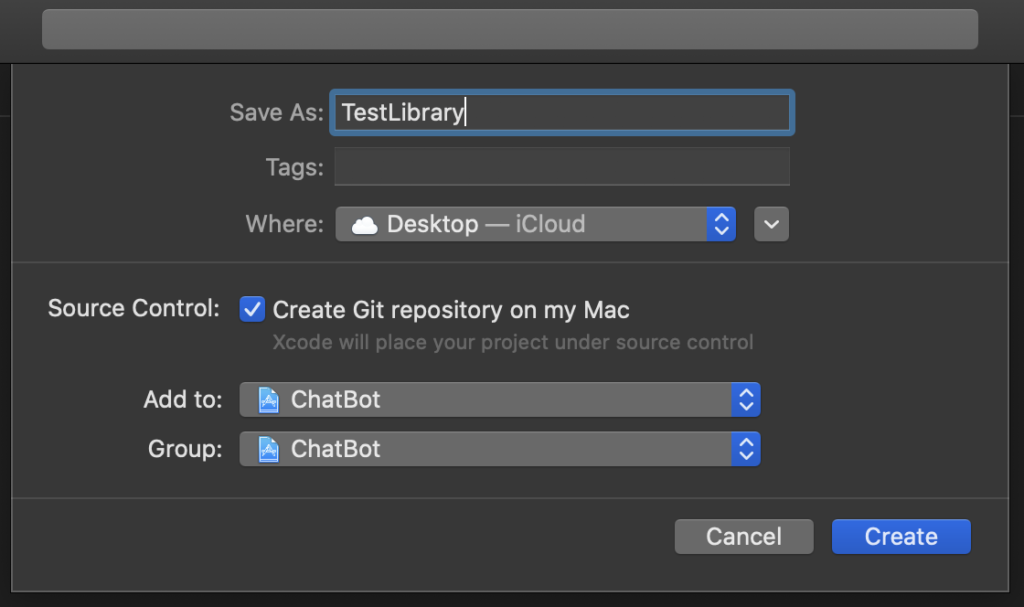
Choose a name to save the file as, and “add to” the project. The “group” you save it to is where things get a bit tricky; you’ll want to add it to the root group it’s in, not a file elsewhere. Remember, you want this to be available globally for your project!
Xcode will create the package, complete with a ReadMe and Package.Swift file. Awesome!
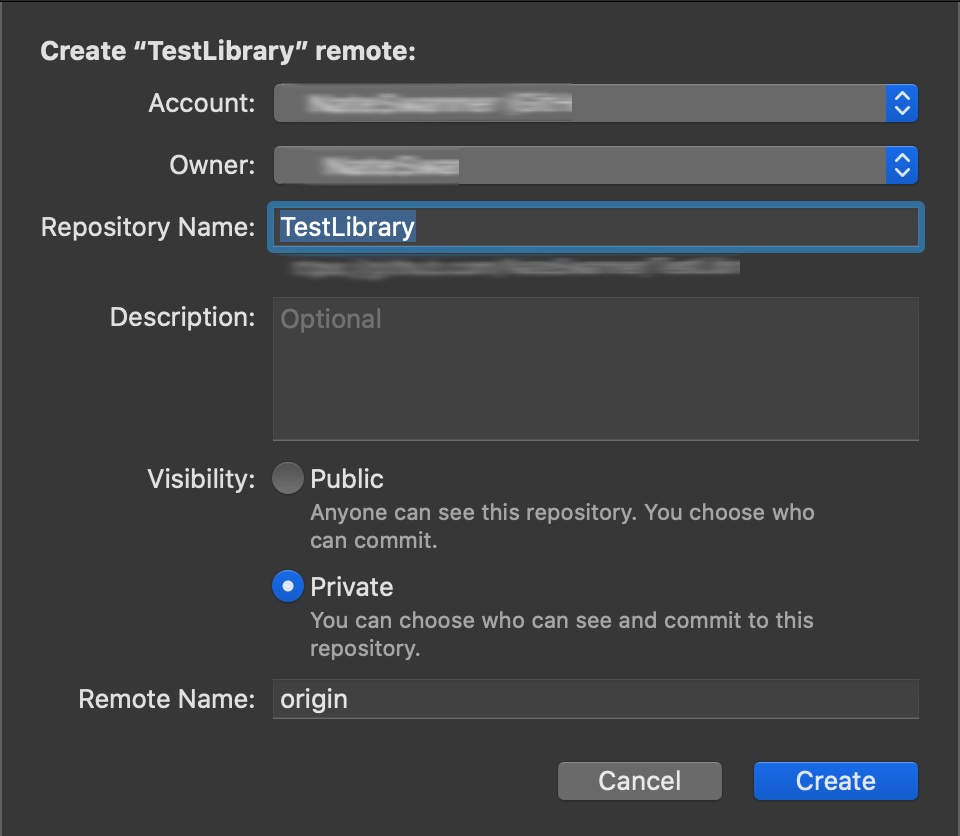
To publish the package to GitHub (and remember, a GitHub repo can be public or private), first select the package (not the file!) in your Xcode project. Drag it to your desktop, hold down “option” to create a copy of the package file, and drop it to your desktop. Then open it in Xcode as you would any other project (double-click the folder, then double-click the Packages.swift file).
(You may want to take this time to add text to the ReadMe file, or add licensing information. Or both!)
In the menu bar’s Open Source Control, select “Create Git Repository.” Your project is likely already under source control. If it is, Xcode will tell you everything is fine. If not, simply select your project from the menu, and proceed.
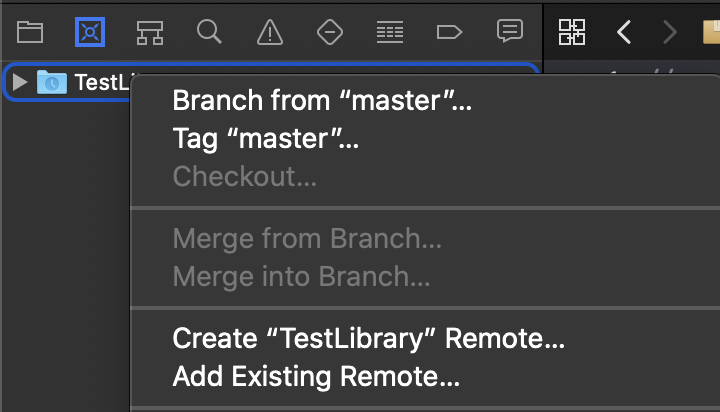
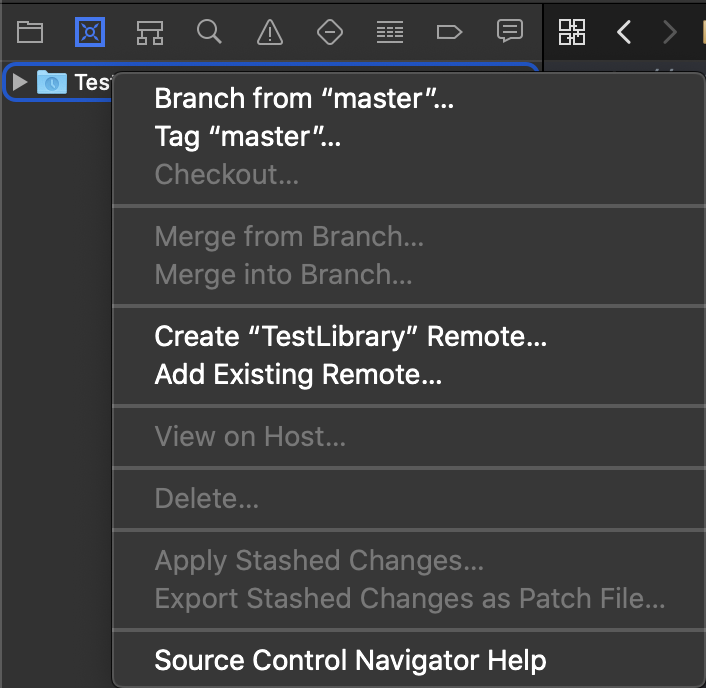
Go to the Source Control Navigator (the little target icon in the navigation area) and right-click on your project file. Select “Create (project name) Remote,” and select the account you wish to add it to.
Note: if you don’t have an outside account set up in Xcode, in the menu bar go to “Xcode > Preferences > Accounts.” Select the “+” on the bottom left, and add your account(s).
How to Manage a Swift Package
So, you’ve written some clever code, and published a package. You’re doing great! But what if you make changes?
It’s actually pretty simple. First, remember to make changes to the package file proper in Xcode; open it as a standalone project. This is where you’ll manage your package.
For argument’s sake, let’s say you have a package for game-play controls. You’ve altered this after beta testers provided feedback. While you’re in the Source Control Navigator, right-click your project and select “Tag Master.” Mark your version change and add notes.
And then:
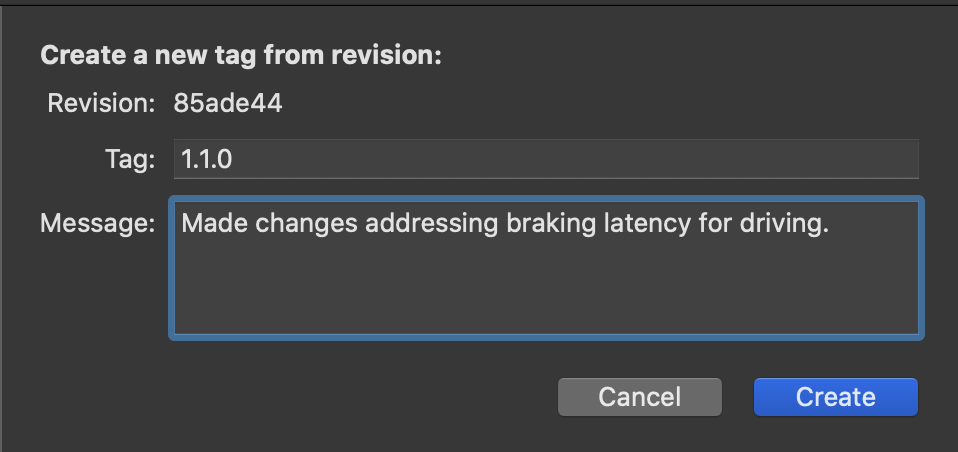
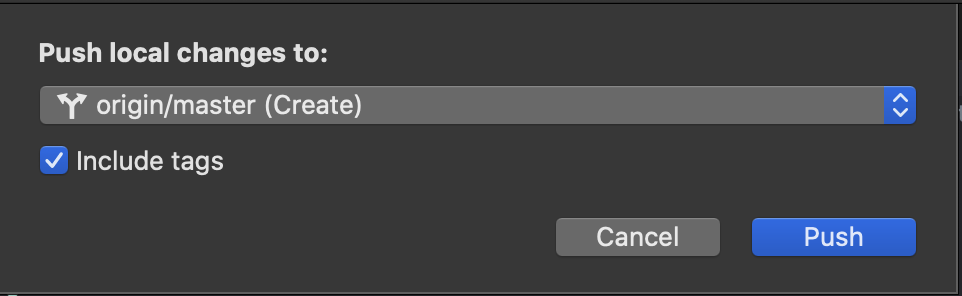
To commit your changes to a GitHub repo, select “Source Control” from the menu bar, then “push.” It will ask which branch of the repo you want to push changes to (if you or someone else has forked it, of course), and let you include the tag you just added. Then just select “Push.”
How to Add a Swift Package to Your Project
Now you know how to create and manage your own package. Awesome! But what if you want to add a package you found on GitHub?
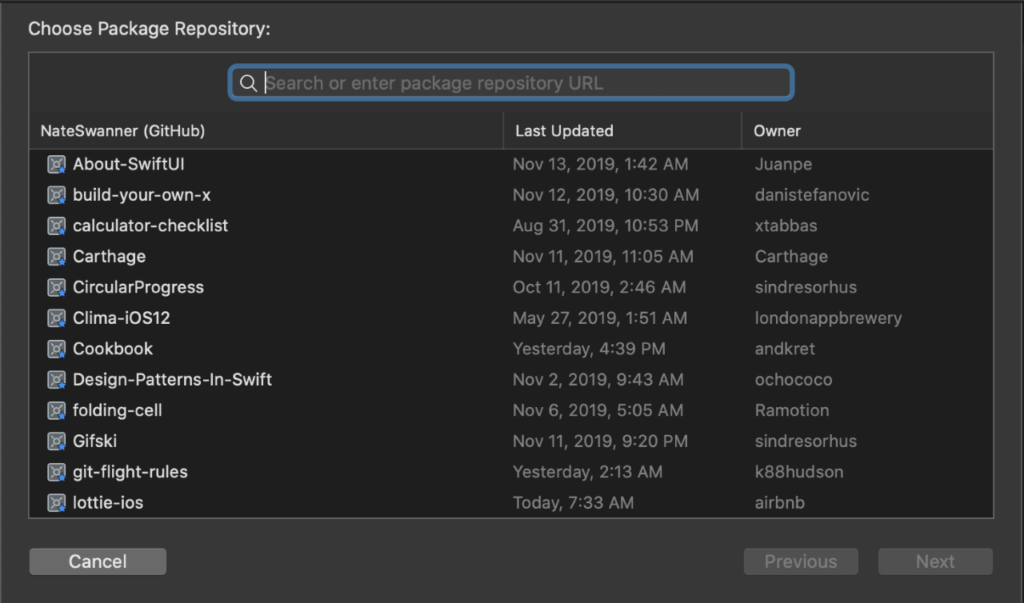
It’s really easy. In your project, go to File > Swift Packages > Add Package Dependency via the menu bar. A pop-up window titled “choose package repositories” will show all the GitHub files you have access to (if you don’t see it listed, you can add a repo to your project via its URL).
After you select the repo you want to add to your project, you can set rules. You can granularly control which versions of a repo you want to use, as well as which branch you want to pull from (or commit to).
When you add a package to your project from GitHub or another source, you’ll see a new section in the file navigator called “Swift Package Dependencies.” If you have a local version of your package also in the project (you know, that cool thing you created then made into its own package?), delete it from your main branch. You want the SPM to manage your packages, and having both the local and version-controlled hosted version on GitHub can cause problems.
In your Targets, you’ll want to add the package under “Frameworks, Libraries, and Embedded Content” using the “+” at the bottom left.
Why You Should Use Swift Package Manager
SPM leans heavily on two major pillars for iOS developers: Xcode, and GitHub. You can use Bitbucket or GitLab, too.
It’s also as official as package management will get. Appel develops Swift as an open-source project, and the Swift Package Manager is part of that. Meanwhile, Microsoft owns GitHub. Neither Apple nor Microsoft is going anywhere soon.
As you can see, creating and managing your own packages is pretty straightforward. It’s really as simple as taking a <code>.swift</code> file and turning it into a standalone project, then publishing it. Changes can be pushed directly to your hosted repo, and you can manage them however you like.
Xcode helps troubleshoot, too. As SPM is a tightly-woven product within Xcode, it helps troubleshoot issues a lot better than other package management tools (others cause Xcode to toss its proverbial hands up).
Perhaps most importantly, it makes supporting a package really simple. You use the IDE you’re familiar with (Xcode) and treat a package like any other Swift project. Good luck!