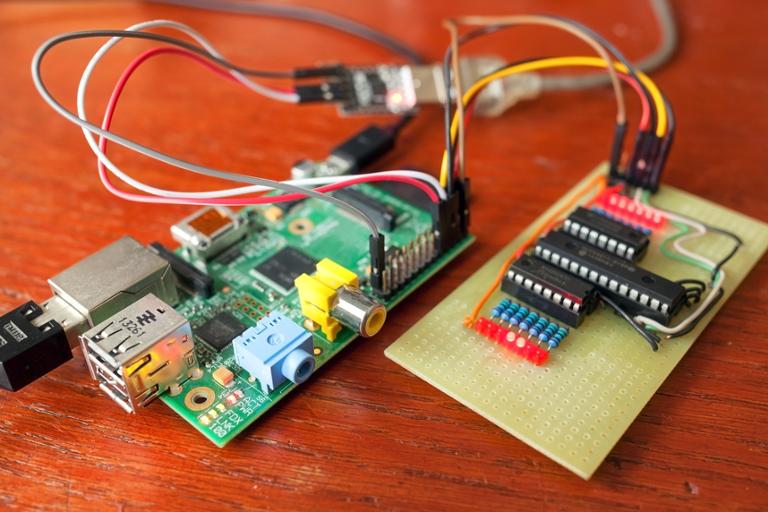
My first computer, an Amstrad PC1512 that I bought new in 1989, cost $1,200 (or roughly $2,460 in 2019 dollars). It came with 512Kb of RAM and two floppy disks, and ran at 8 MHZ. Thirty years later, I bought a Raspberry Pi 3 B+ for $80 with 1 GB of RAM and a 16 GB SD card; it runs at 1.4 Ghz. That's almost 2,000 times the amount of RAM, more than 20,000 times the amount of storage, and a CPU over 175 times faster for 1/30th the price (it also uses 1/40th of the power).
My current project: Turning Pi into a wireless game server that can be used for localized mobile gaming. It's proceeding… but it hasn't been an entirely smooth ride. If you've thought about using a Pi or a similar SOC based system, there are a few things you need to figure out. Here are my experiences so far.
What OS Will You Use?
There are an astonishing number of compatible distros available for the PI. Mine came with Raspbian, which is a user-friendly and well-featured system. It's the official one, but since it’s open-source, you have some choices; you can even install Windows 10 IoT, but the licence is only free for personal and non-commercial use.
Raspbian tries to be everything to everybody, but I don’t need most of the services, so I went with a different distro.
Whichever you choose, don't forget to buy a few MicroSD cards. The Pi boots from a microSD (technically, SDHC; I use 16 GB) card, so you need to burn an OS on it. For that, you need a card reader and the software to burn it. I use Win32DiskImager, which is great, and there's also Etcher, which I haven't tried.
When it comes to MicroSD cards, make sure you get class 10 or the faster ones with an A1 or higher rating (the A is for ‘applications’). The SD Card website explains all the differences.
This StackExchange pagelists more distributions than anywhere else (that I’ve seen, at least). For my purposes, I didn't need a GUI, and so the minimal Debian based DietPi distribution was perfect. In addition to the Raspberry Pi, it provides 26 versions for other small board computers such as Asus, NanoPI, Odroid and even normal PCs (including both VirtualBox and Hyper-V versions).
One of the biggest advantages with DietPi is that you can customize it to set up as little or as much software from an extensive list as you want. Plus, features such as having a WiFi hotspot setup are just a menu option. (If you wanted to do that in Raspbian, you need to follow these instructions.)
Once you've got your system configured as you want, burn a backup copy of the MicroSD Card to disk. The Win32DiskImager reads your card and creates an .img file (you should always keep a backup, as SD Cards have been known to get corrupted). This was my experience with the original Raspberry PIs back in 2012, but it hasn't happened yet with the 3B+ model and MicroSD cards. I'm always careful to do a proper shutdown, rather than just pull the power cord out.
Setting Raspberry Pi Up for Programming
DietPi is a cut-down Debian 'Stretch' version, so you can install software with apt if it's not on the two install menus. I wanted Mono to let me run C# applications, and that was included on the second DietPi-software menu, along with openSSH. DietPi comes with some very handy utilities, including dietpi-config, dietpi-launcher and dietpi-software.
It's make-a-coffee time while the software downloads and installs. However, to install .NET Core, I had to download it from their website and follow instructions. (Whatever you feel about Raspberry Pi, it's a lot of work!)
I found that, with a VirtualBox or Hyper-V version of DietPi, I could create a local development edition and use tools such as WinSCP to access files on the virtual 'Pi.’ As I was developing in C#, it was possible to write all the code first in Windows with Visual Studio, then copy it across and run the dll with the Mono command.
Mono or .NET Core?
You're a bit spoiled for choice, as you can have both Mono and .NET Core on your Pi. The main difference is that you have to install .NET Core on your Windows PC and create a .NET Core project. Mono will happily take .NET Framework projects, and I've only found a few things that didn't work when I ran it on Mono. Those were mainly some cryptographic functions and libraries.
When you compile C# on Mono or .NET Core, both produce a .dll, not an .exe. To run it with the appropriate version, use either of these commands.
Mono file.dll
dotnet run file.dll
Conclusions
It only takes a couple of hours to get a Raspberry Pi set up for running software, but if you are using it to develop on, you'll also need to install software such as the excellent Microsoft VS Code or your preferred editor and compiler.
DietPi may not be the best distro I've tried, but it’s certainly the best one for me, considering I’m running a game server written in C#. One thing worth noting: Because DietPi is minimal, and intended mainly for home users, you should take additional steps to secure it, starting with disabling root access and installing sudo (this post explains these steps). Also, the steps in this Reddit post are definitely worth following, as the author advocates for certificates with SSH rather than just passwords.


